
Development and production of ‘Dag Spin’
‘Dag Spin’ was the last book in a series of six children’s tactile books to go into production. An ambitious project, known as ‘voeljeleesboek’ (‘feel your reading book’), aimed at stimulating braille literacy amongst young school children. These are some aspects specific to the development of ‘Dag Spin’ which I have documented.
Workflow: development, testing and production
Storyline
In close collaboration with Gyntha, I sketched out the storyline to define the elements of each illustration. The position and movement of the thread (spider’s web) was particularly important.
Selecting distinctive materials
When selecting materials for the illustrations I paid a lot of attention to their unique properties in combination with specific shapes and forms so that they would be easily recognisable to a child with little or no sight (drawing upon their own tactile experiences). ‘Dag Spin’ actually figures a lot of characters, objects and materials used in the ‘voeljeleesboek’ series. Wherever possible I have used the same materials to represent the same things throughout the whole series: the same beach ball, the same cat, the same fish, etc. In this book I’ve used a wide range of materials, all carefully selected on the basis of the desired tactile association: special bookbinding papers, handmade papers from India and Kathmandu, wallpapers, household materials such as cleaning sponges and silicone baking mats, balsa wood, hair decorations, plastic sheets, foams, felts, fabrics, threads and so on.
Testing design functionality
I tested the functionality of the design sketches and prototypes at school with the children, for instance the effectiveness of the strips above the braille: the distance from the braille and which materials and size worked best. For the illustrations I tested how well the children were able to follow the thread (from easy to more challenging) and whether the children were able to recognize the materials and shapes and so understand what was being conveyed. I also tested the line drawings for the cover first using swell paper and later making a screen printed proof.
-

Testing the strips above the braille: material, thickness and distance.
-
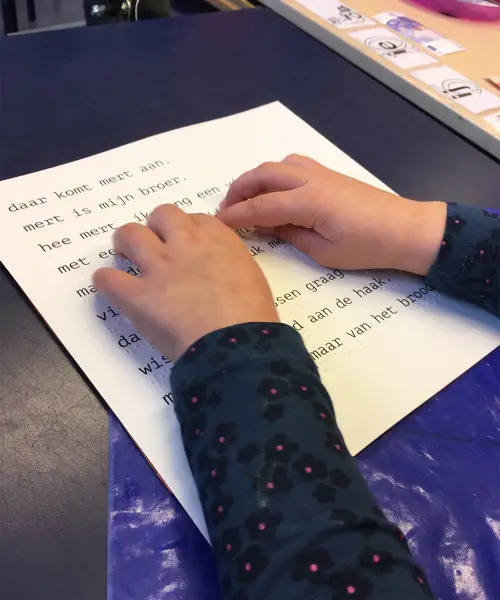
A pupil testing the quality of the embossed braille.
-
Testing the line drawings for the cover: would a child understand them?
-

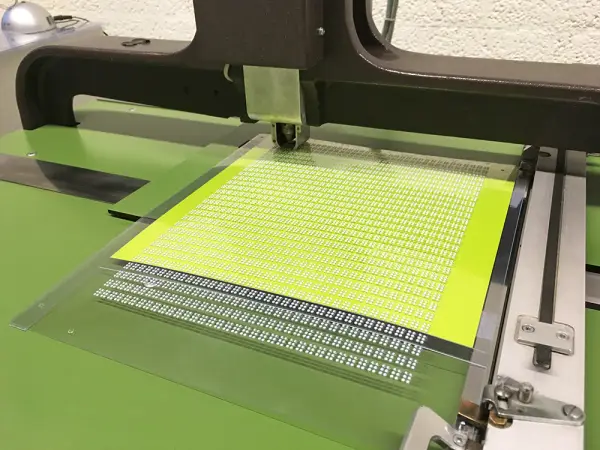
Researching materials: which combinations can be cut using laser.
-
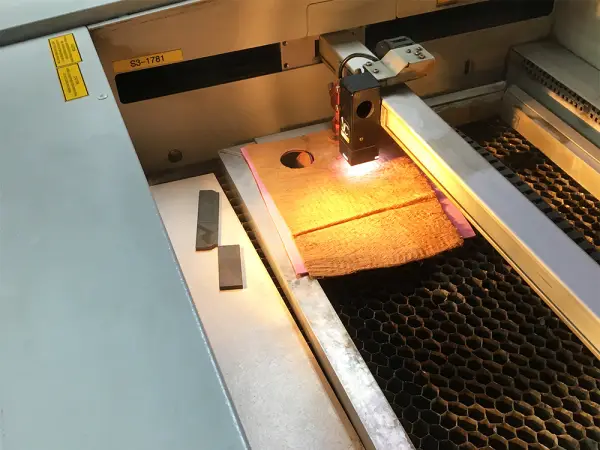
Using laser to cut paper made from tree bark; I used this for a tree branch.
-

The selection of quality papers for printing and braille embossing.
-
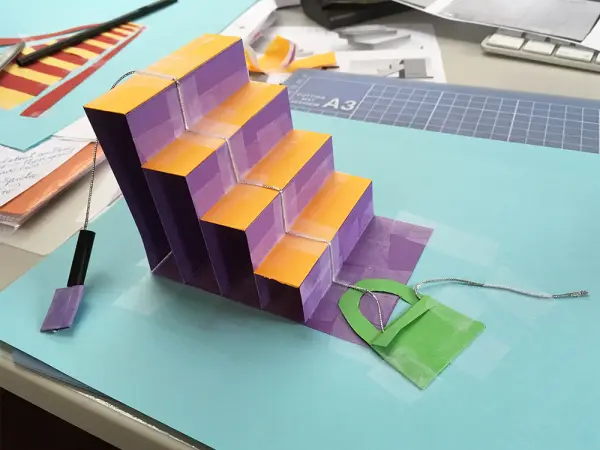
Making 3D sketches with paper, such as for the stairs.
-

Drawings form the basis for templates used to reproduce illustrations.
-

A blind pupil testing a prototype at school.
-
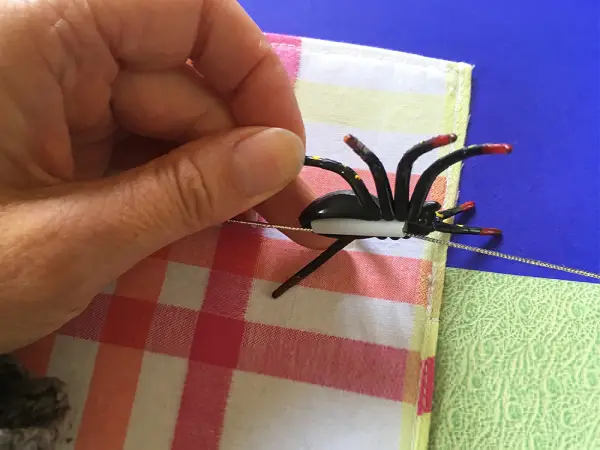
Testing how well the spider clicks onto a bead.
-
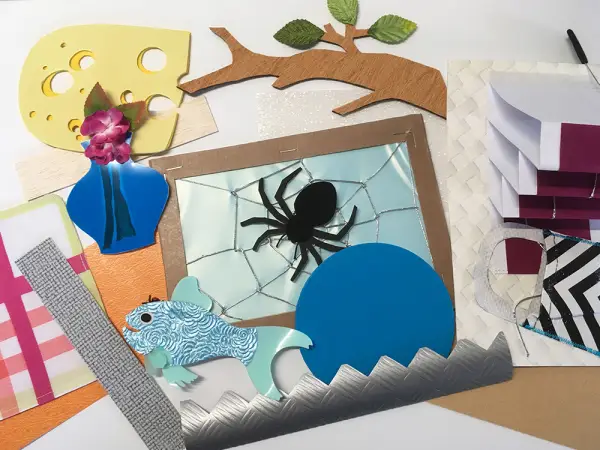
Handmade illustrations used for making the prototype.
-
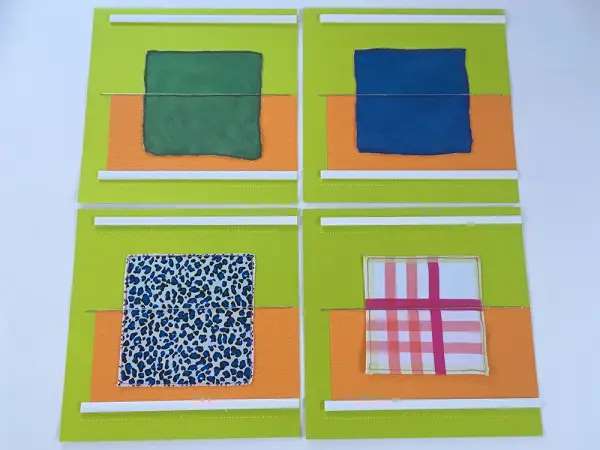
Illustration pages with strips above the braille.
Double pages
The inside pages are all double pages: a story page and an illustration page stuck back to back. In ‘Dag Spin’ the thread actually goes through the illustration pages which meant that these had to be stuck to the printed and embossed pages afterwards. Technically tricky because the finished pages had to line up exactly for binding.
Testing materials
Before going into production I tested various properties of the materials I wanted to use, for instance if I could could make pre-cut shapes using laser or existing dies and exploring ways to layer and combine materials (appropriate foils and adhesives, stitching by hand or machine). I was able to draw upon my earlier [paper research for braille][1], choosing high quality printing papers for embossing the braille: Lessebo Design in 440 grams for the story pages and Pop Set and Sirio Color, 240/290 grams in various contrasting colours for the illustration pages. For the cover I used Wibalin Finelinen which I proof printed before the final screen printing.
[1]: /en/articles/designing-an-introduction-to-braille/paper-research-for-braille
Handmade
For this particular book I was able to pre-cut only five elements for the illustrations. The rest was handmade: handcut, glued and sewn by hand or on the sewing machine. I actually made all 250 illustration pages myself which took me several weeks to complete. I had great fun doing this and felt really satisfied when all the pages were finished. It was a welcome change from working behind a computer.
-
Embossing braille deeply into the quality printing papers.
-

The pages are embossed one by one.
-

Preparing the covers for screen printing and cartonnage.
-
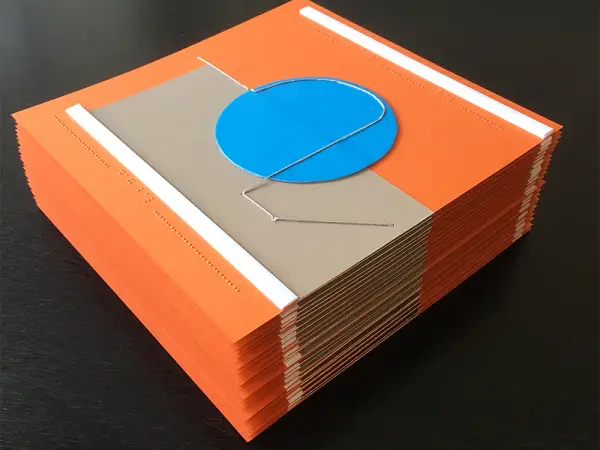
Illustration pages ready to be stuck onto the story pages.
-
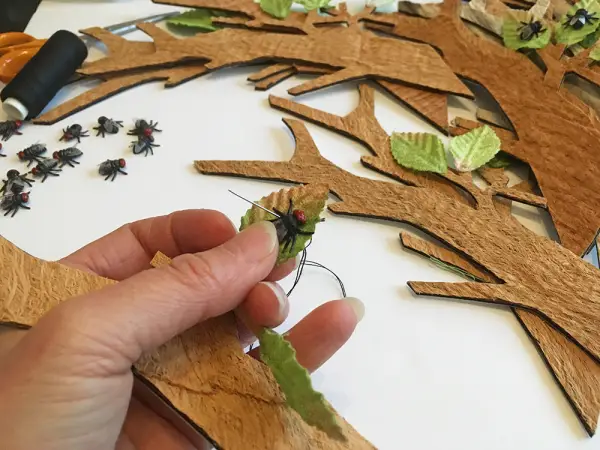
Sewing little plastic flies onto the leaves of a tree branch.
-
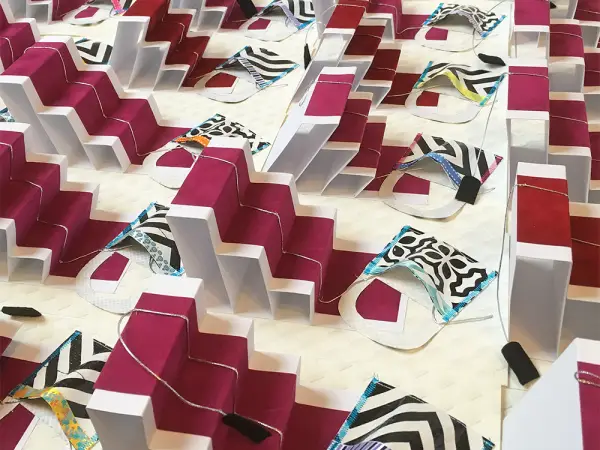
Illustrations for the stairs before being stuck down.
-

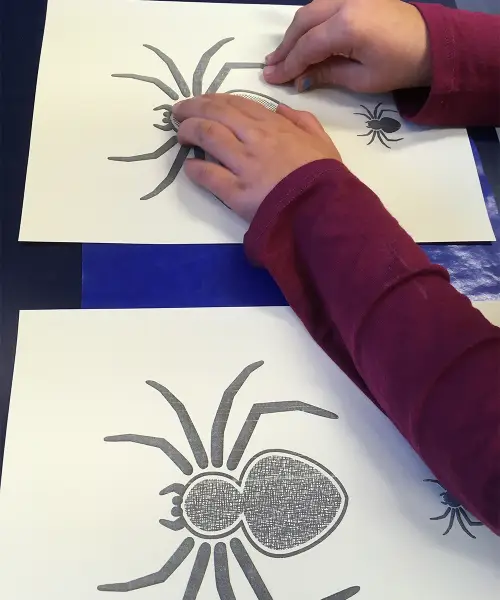
Making the spider illustrations using laser cutting and handwork.
-

Handmade fish ‘drying out’; laser cut materials are glued and sewn.
-

The printed and embossed pages laid out in the correct order.
-

Inside cover with instructions and tips for teachers and parents.
-

Sewing a cloth illustration directly onto pages embossed with braille.
-

Making an illustration: sewing thread onto the vases.